Unlocking the Potential of 80 Watercolor Procreate Brushes for Digital Art
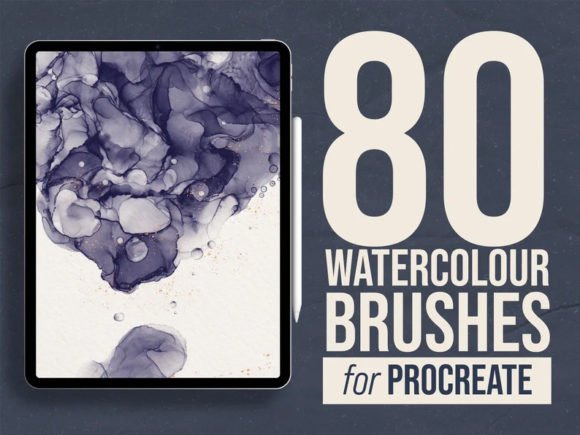
Digital illustration has evolved significantly, bridging the gap between traditional media and modern technology. For artists seeking the organic, fluid aesthetic of watercolors without the mess or drying time, 80 Watercolor Procreate Brushes offer a comprehensive solution. This extensive collection is designed to replicate the nuanced behavior of real pigment on paper, providing creators with the tools necessary to produce stunning illustrations, hand lettering, and design projects. However, simply downloading a brush set does not guarantee mastery. Many users overlook critical aspects of installation, customization, and workflow integration, leading to frustration rather than inspiration.
Understanding the Value of a Comprehensive Brush Set
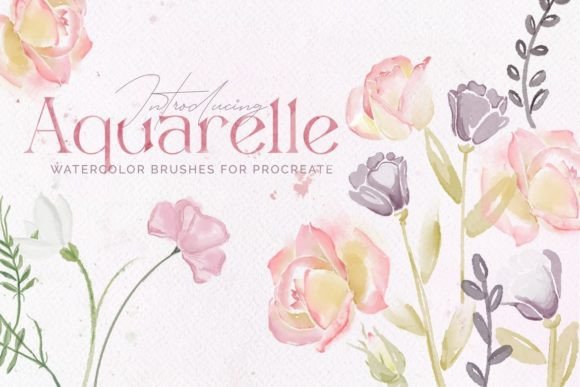
The appeal of 80 Procreate Watercolor Brushes lies in their versatility. Unlike standard digital brushes that often feel uniform and plastic, watercolor simulations require complex algorithms to mimic bleeding, granulation, and transparency. A set of this magnitude typically includes various tip shapes, texture overlays, and blending modes. This diversity allows artists to switch seamlessly from broad washes to fine, detailed linework. Whether you are a hobbyist exploring digital art for the first time or a professional illustrator refining your portfolio, having a robust library at your disposal eliminates the need to hunt for individual tools mid-project.
These brushes are engineered to be flexible. You can use them in any color or opacity, adjusting the dynamics to suit your specific style. They can be resized to best fit your art, ensuring that every stroke serves its purpose, whether it is a subtle background gradient or a bold foreground element. This adaptability is crucial for maintaining a cohesive look across different types of projects, from social media graphics to printed merchandise.
Common Installation and Setup Missteps
One of the most frequent hurdles new users face occurs before they even make their first stroke. The installation process for Procreate assets is straightforward but often misunderstood. Once you have downloaded your brushes, double-clicking the file should automatically import it to Procreate. The new set will be found at the top of your brush folders. However, issues arise when users attempt to unzip files incorrectly or try to import incompatible formats. If you encounter errors during this phase, it is essential to verify that the file is indeed a .brushset or .procreate file and not a compressed archive that requires extraction first.
Another overlooked detail is organization. Importing eighty new brushes can clutter your interface if you do not manage your library effectively. Professionals recommend creating dedicated folders or grouping similar brushes together immediately after installation. This prevents the "paralysis of choice," where an artist spends more time scrolling through options than actually creating. By organizing your 80 Watercolor Procreate Brushes logically—such as grouping by texture intensity or tip shape—you streamline your workflow and enhance efficiency.
Misconceptions About Opacity and Layering
A significant misunderstanding among beginners is the belief that digital watercolors behave exactly like their physical counterparts without adjustment. In reality, digital tools require manual calibration. Many users apply brushes at full opacity, resulting in flat, unnatural colors that lack the depth characteristic of traditional watercolor. To achieve authentic results, you must experiment with opacity settings and layer blending modes. Lowering the opacity allows for gradual buildup, mimicking the translucency of water-based pigments.
Furthermore, neglecting the role of paper textures can diminish the realism of your work. While the brushes themselves contain texture data, the underlying canvas choice plays a vital role. Using a smooth digital canvas with watercolor brushes often produces a sterile look. Integrating a textured background or selecting a canvas preset that simulates cold-press or hot-press paper can significantly enhance the visual impact. This synergy between brush and surface is what separates amateur attempts from professional-grade illustrations.
Overlooking Customization Potential
Many artists treat brush sets as static tools, failing to realize that Procreate allows for deep customization. Each of the 80 Procreate Watercolor Brushes can be tweaked to better suit your personal style. Adjusting parameters such as size jitter, flow, and wet mix can transform a standard brush into a unique tool tailored to your needs. For instance, increasing the wet mix can create softer edges and more pronounced bleeding effects, ideal for atmospheric backgrounds. Conversely, reducing it can yield sharper, more controlled lines suitable for intricate details.
Ignoring these settings limits your creative potential. Instead of accepting the default behavior, take time to explore the brush studio. Create duplicates of your favorite brushes and modify them to see how changes affect the output. This experimental approach not only improves your technical skills but also helps you develop a distinct artistic voice. Remember, the goal is not just to use the tools but to master them.
Evaluating Quality and Usability Before Purchase
Before investing in any digital asset, it is prudent to evaluate its quality and compatibility. Not all brush sets are created equal. Some may suffer from poor optimization, causing lag on older devices, while others may lack the variety promised in their description. When considering 80 Watercolor Procreate Brushes, look for previews that demonstrate a range of applications, from loose sketches to polished finishes. Check reviews for comments on performance and ease of use.
Additionally, consider the support provided by the creator. Reliable vendors offer assistance if issues arise. Please contact me if you have any issues with your download, and I will do my best to help. This level of customer service is indicative of a reputable seller who stands behind their product. It ensures that if technical glitches occur, you are not left stranded with unusable files.
Practical Tips for Better Results
To maximize the utility of your new brushes, adopt a structured approach to your workflow. Start by testing each brush on a separate layer to understand its unique characteristics. Note which ones excel at blending, which provide strong texture, and which are best for detailing. Create a cheat sheet or reference guide within your project file for quick access. This practice saves time and reduces friction during the creative process.
Moreover, embrace the iterative nature of digital art. Unlike traditional media, mistakes are easily corrected. Use this advantage to experiment boldly. Try combining different brushes from the set to create complex effects. Layer a soft wash under a textured dry brush to add depth and interest. The flexibility of 80 Procreate Watercolor Brushes encourages exploration, allowing you to discover techniques that might not be possible with physical materials.
Finally, keep your software updated. Procreate frequently releases updates that improve brush engine performance and add new features. Ensuring your app is current guarantees that your brushes function as intended and benefit from the latest optimizations. This attention to technical detail supports a smoother, more enjoyable creative experience.
Conclusion
Incorporating 80 Watercolor Procreate Brushes into your digital toolkit can elevate your artwork, offering the beauty of traditional media with the convenience of digital flexibility. By avoiding common pitfalls in installation, customization, and application, you can unlock the full potential of these tools. Remember to organize your library, adjust opacity and blending modes, and explore the customization options available. With patience and practice, these brushes will become an indispensable part of your creative process, enabling you to produce high-quality, expressive illustrations with confidence.
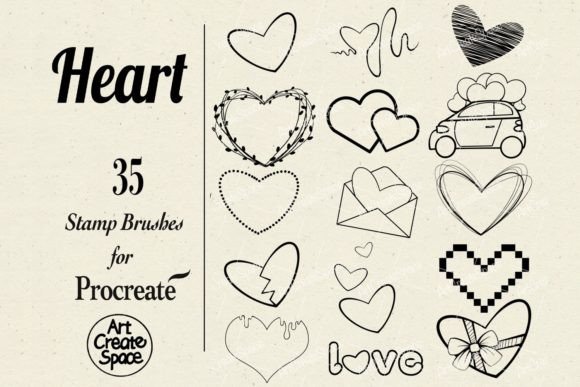
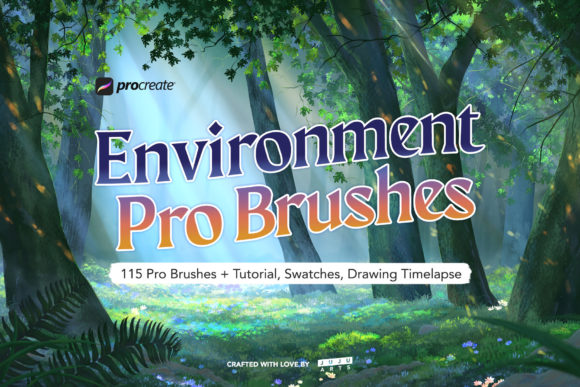
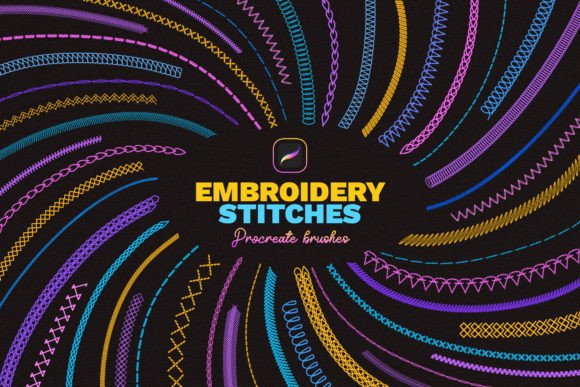
Please note Cover Image is for illustration purposes only. Always refer to the actual product files for the complete range of included brushes and textures.